 |
(View file PDF) |
You should prepare the image to the size you want to display. If it’s going to be on the left or right side of the article, the width should be about 300 to 400 pixels. Use a photo editing software to resize the image and save as JPG format. You may also upload a larger image and have the program resize it when displaying on the web page.
B. Upload the image to the web server
- Login the Control Panel as usual.
- Click the menu item “Articles” and click the ID of the article you want to insert the image in.
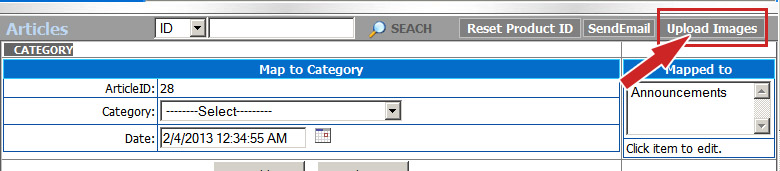
- Click the “Upload Images” button near the upper right corner. The “Upload Tools” screen will appear.
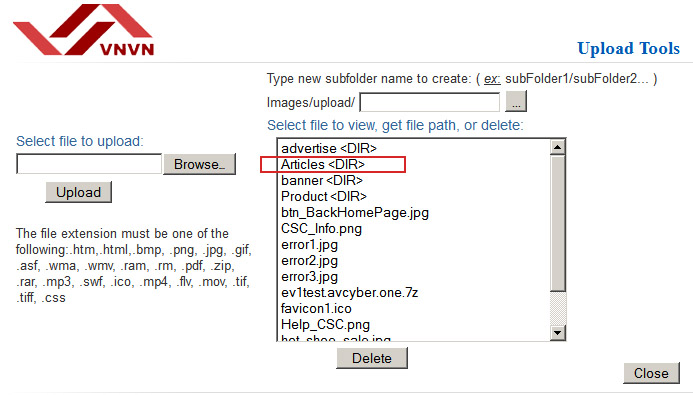
- Select the folder you will upload the image into. Since this image is used with an article, we will select folder “Articles”. Click the “Articles” folder in the large frame on the right side. The large frame will now display all the files in this folder.
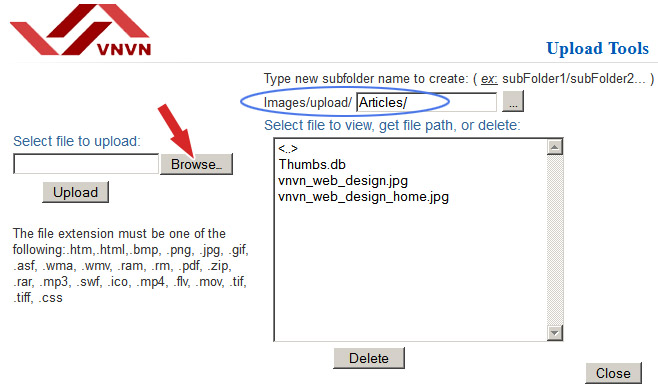
- Click the “Browse” button. You will see the files and folders in your computer.
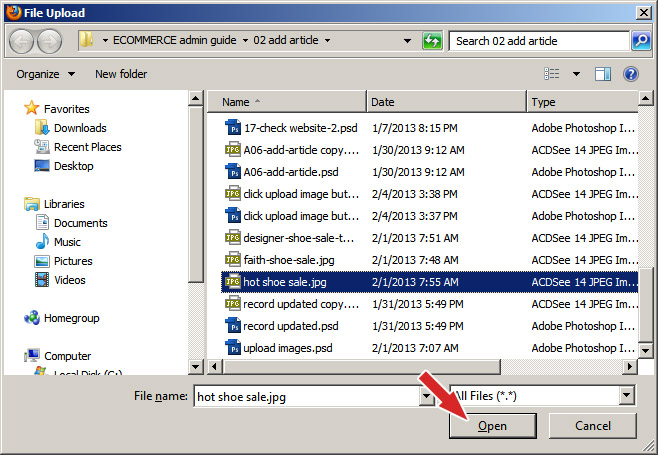
- Find the image file you want to upload. Click on it, and then click the “Open” button.
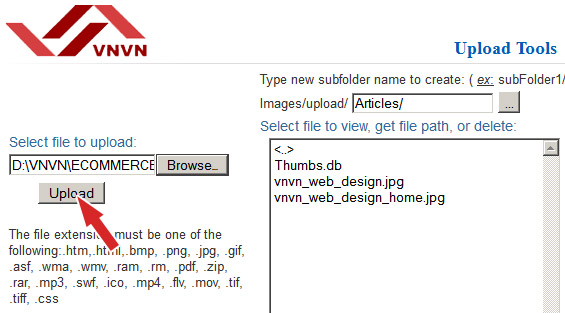
- The box “Select file to upload” is now filled with the path to the file. You are ready to upload. Click the “Upload” button.

After a moment, the filename will appear in the large frame and the image is showing at the bottom of the screen.
C. Copy the image file path
Now, you will copy the path to the image file in the server then paste it in the article.
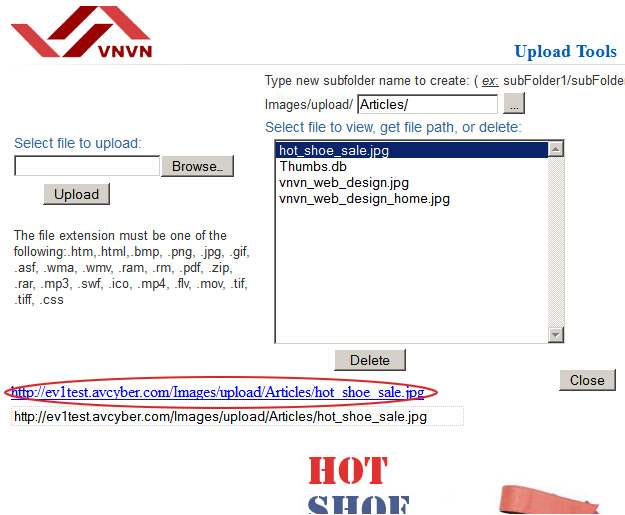
- Click on the image filename. A line of blue text will appear below the large frame.
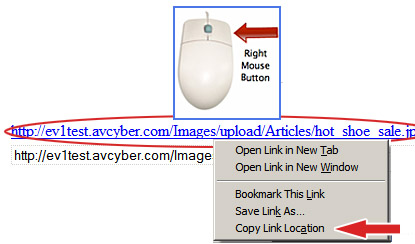
- Move your mouse cursor over this text, and then click the right button of your mouse. A list will appear. Click on the line “Copy Link Location”. You have copied the file path.
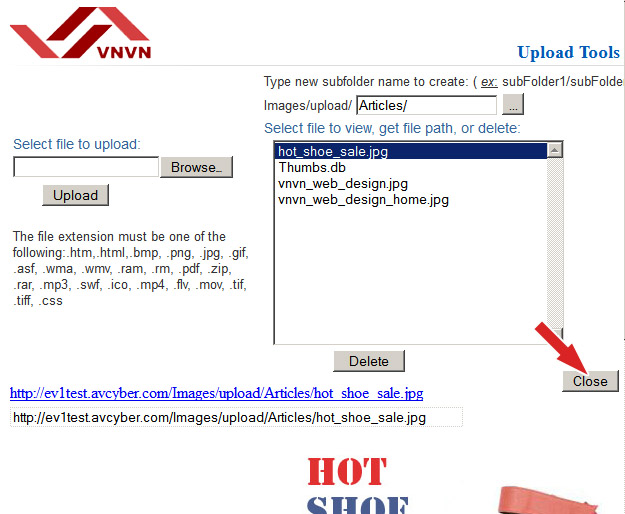
- Click the “Close” button. You will be back to the article record.
D. Paste the file path in the article
Let’s place the image on the left side of the article.

- Go to the “Description” box and click at the beginning position of the article. You will see a vertical blinking line.
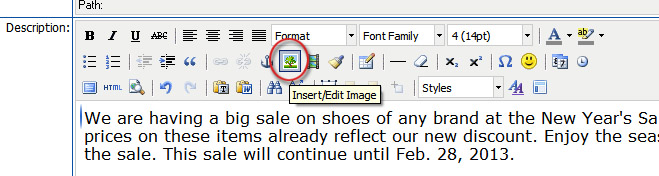
- Click the icon for “Insert/Edit Image”. A small screen will appear.
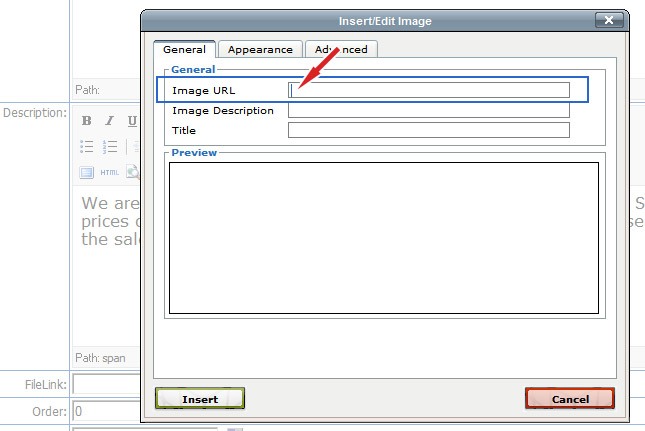
- Click inside the “Image URL” box. This is where you will paste the file path you’ve just copied previously.
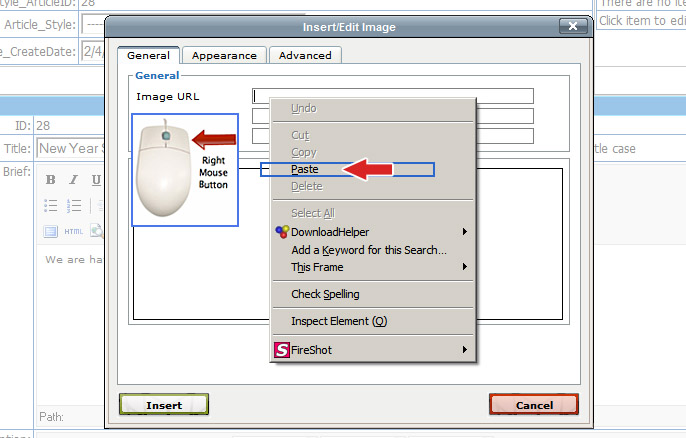
- You can paste by one of the following methods.
o Method 2: Click the right button of your mouse. A list of options will appear. Click on “Paste”.
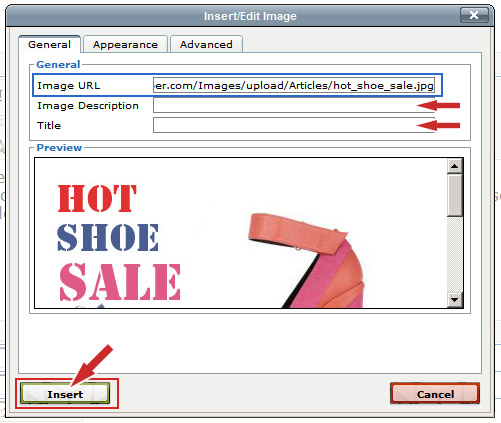
- The “Image URL” is now filled with the image file path. Click anywhere in the Preview box. The image will appear in the “Preview” box.
- Fill in the “Image description” and “Title” boxes. You can fill in or leave them blank as you wish.
- Next, click the “Appearance” tab. A screen will appear to let you choose the image position and some other parameters.
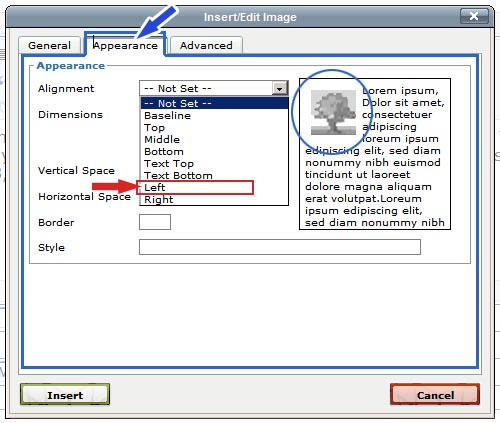
- Since we will place the image on the left side of the text. Click the “Alignment” box. Then, select “Left” in the dropdown list.
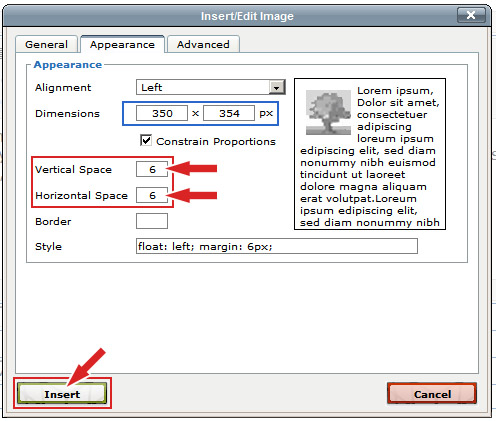
Notice that the “Dimensions” boxes are showing the dimensions of the image just uploaded. The first box is the width, the second box is the height of the image. If you want to display the image at a different size, you only need to fill out one of these 2 boxes. The second dimension will be adjusted proportionally – if the “Constrain Proportion” box is checked. Note that the original image is still the same. It is only resized while being displayed.
- In the next 2 boxes, fill in the spaces (in pixels) from the image to the nearest text. “Vertical Space” is the space above and below the image. “Horizontal Space” is the space on the left and right side of the image. Please fill in the “Horizontal Space” box with 6 to keep the image from touching the text.
- Click the “Insert” button to finish. You will be back to the article record. The image has appeared in the “Description” box of the article.
- Finally, click the “Update” at the bottom of the record.
E. Check the website.
Go to your website.
Click “Announcements” on the top menu. The article with the image will appear.
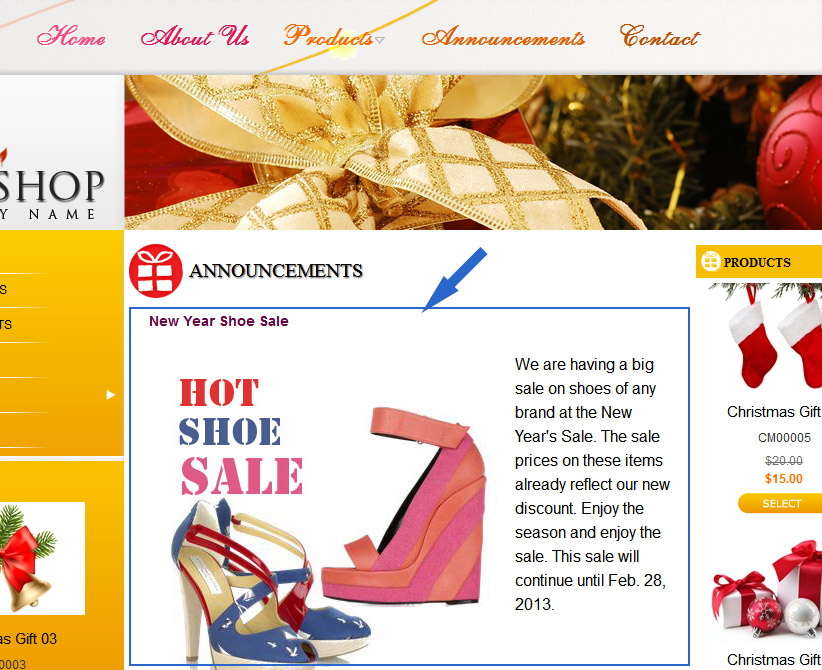
If there is more than one article. You will see a list of article. Click the article you’ve just edited. The article will appear with the image you’ve just inserted.

You have finished inserting an image in an article.
Gửi ý kiến của bạn
%7Cutmcsr%3D(direct)%7Cutmcmd%3D(none)%3B%2B__utmv%3D647656564.-%3B)